100% Perforation Free Lateral Window Techniques of Max.Sinus Graft Surgery
THE ANSWER IS:
Pinhole Opening and Radially Extended Lateral Window Techniques of Sinus Surgery-Developed by Dr. Kwon
Pinhole Opening and Radially Extended Lateral Window Technique of Sinus Graft Surgery
Young H. Kwon D.D.S MAGD
- Introduction
When the implant surgeon has the patient with severely atrophied upper posterior maxilla with substantially enlarged pneumatized sinus, the surgeon has to open up the sinus laterally to perform sinus augment surgery other than Crestal Approach Sinus Lift surgery. The author is a general dentist performing implant surgery as well as max. sinus graft surgery by himself. He also has come across the essence of Lateral Window Sinus surgery and dare to say to fellow surgeon that this technique will solve the perforation problem 100% without recruiting extra equipment usages. This will also provide the surgeon the thoughtful and meaningful approach about the manipulation of lateral wall of the sinus graft surgery 100% perforation free.
- Summary
Dr. Kwon’s Protocol of Lateral Window
- Technique:
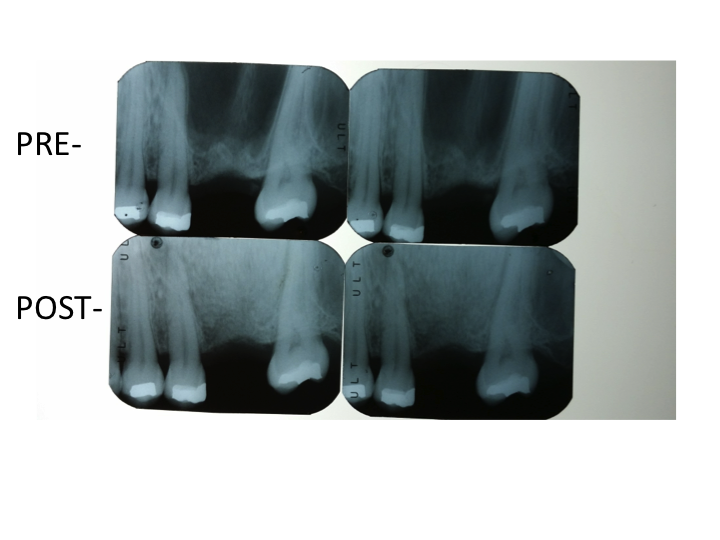
1) Complete oral exam and evaluation, then simple periapical x-rays and study model.
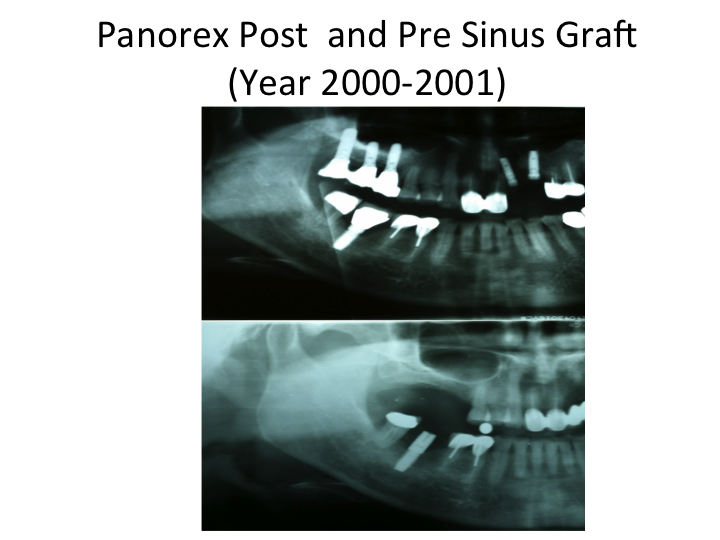
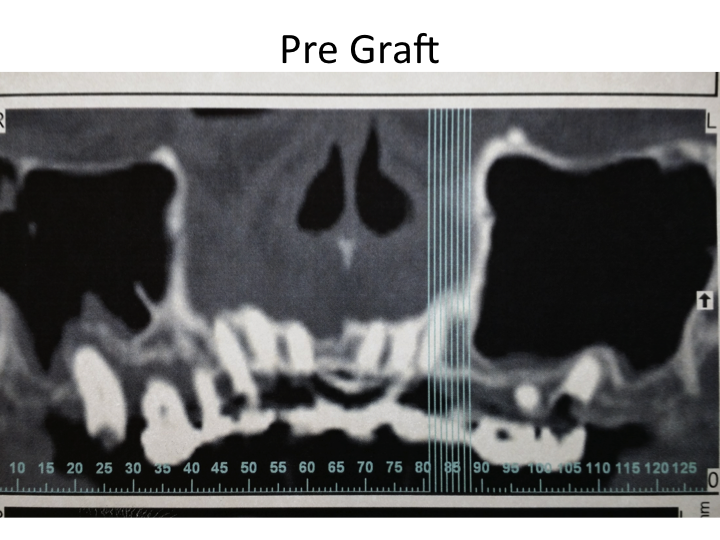
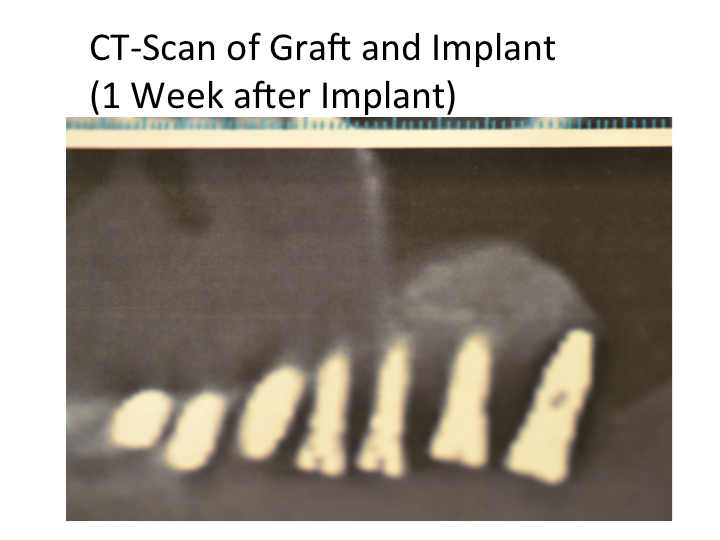
2) CT scan study of the posterior max. region.
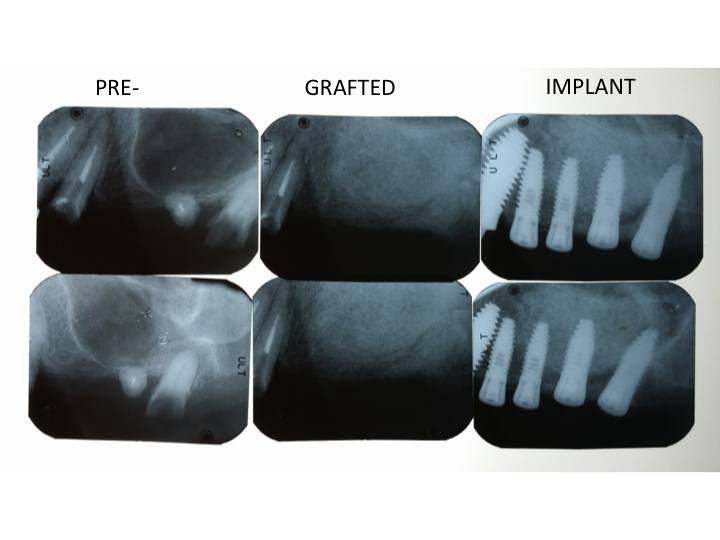
3) If the limited bone height exists, lateral window technique of the sinus surgery should be considered.
4) Surgery setup.
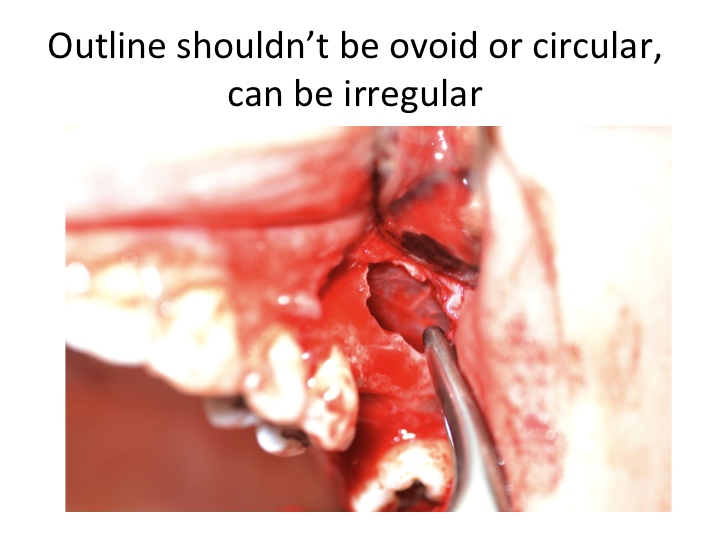
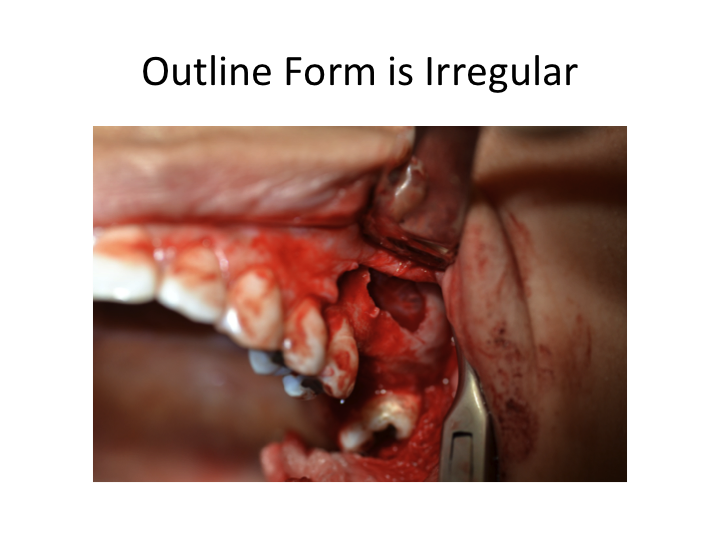
5) Concept is the making of small pin hole opening at the 10mm. away from the mesial and inferior border of sinus border and then radially extending the window to make sufficient opening to visualize.
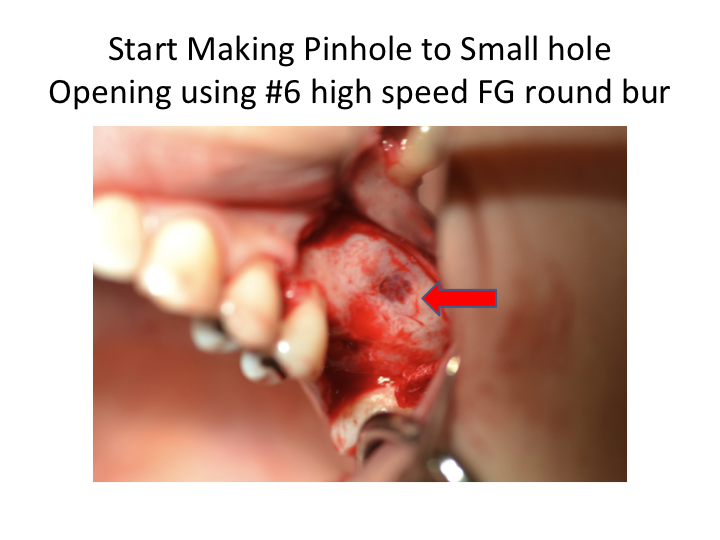
6) Concept is not to start with a big outline form from the beginning. Instead, making a small pin hole opening using #6 round friction grip bur with high speed hand piece up to 40,000 RPM with copious amount of sterile water.
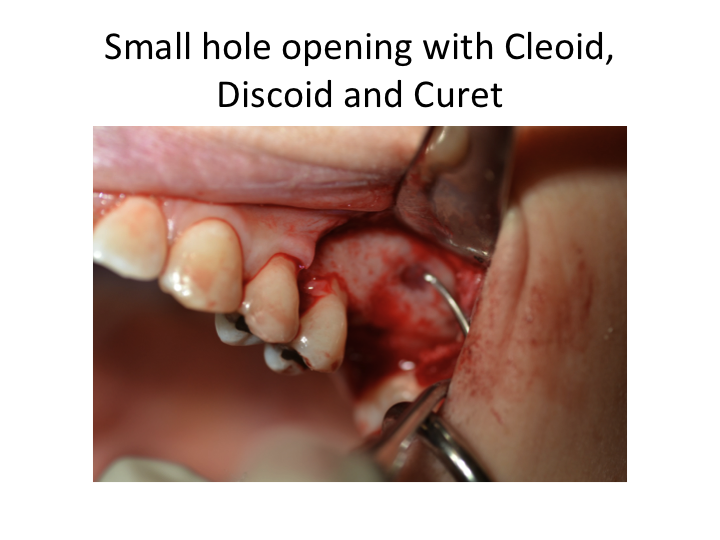
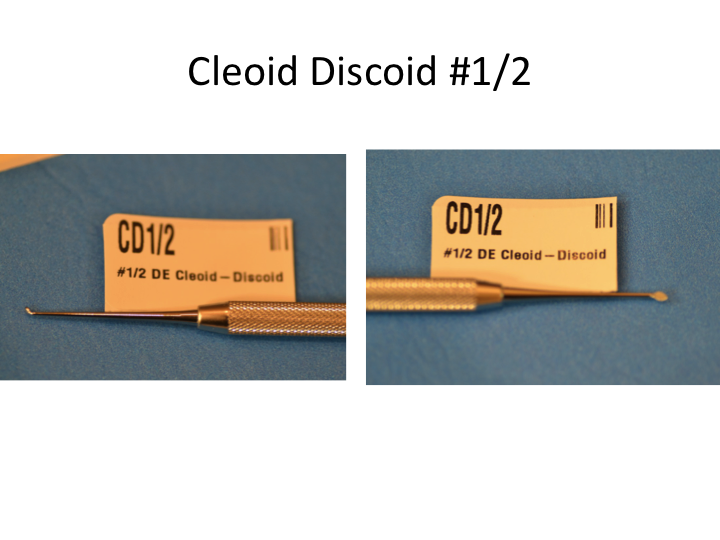
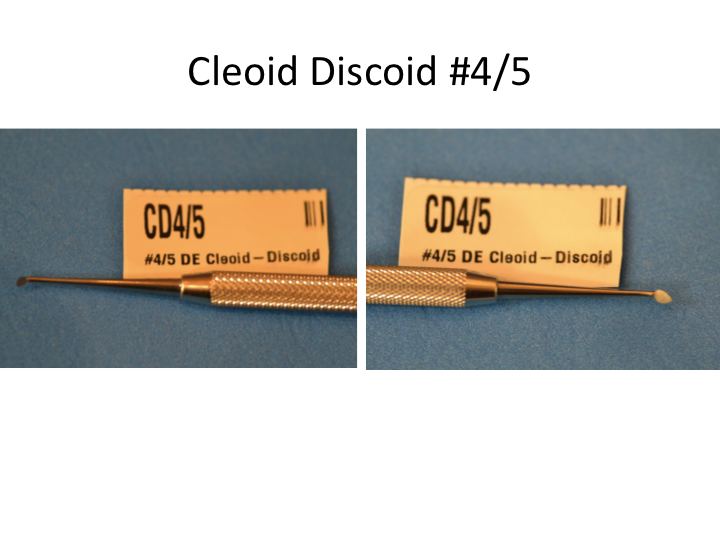
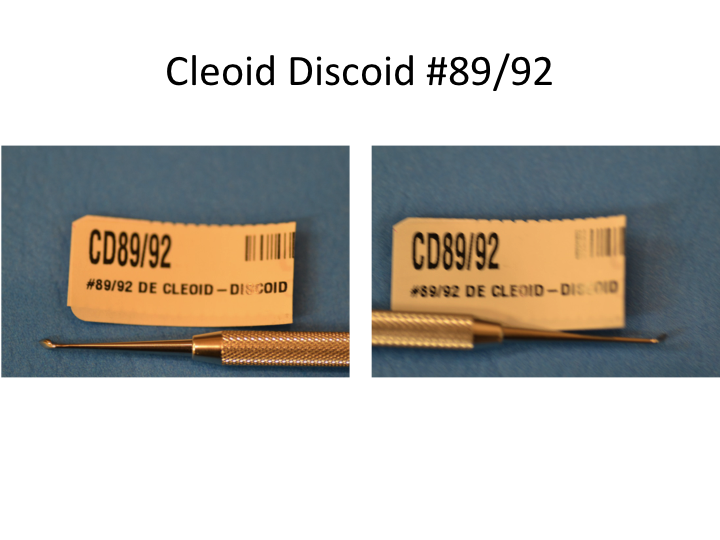
7) Create a pin hole to small hole, using restorative instrument as cleoid discoid #1, 2, 4 and create the bigger wider hole. Also Molt #2 and 4 can be used.
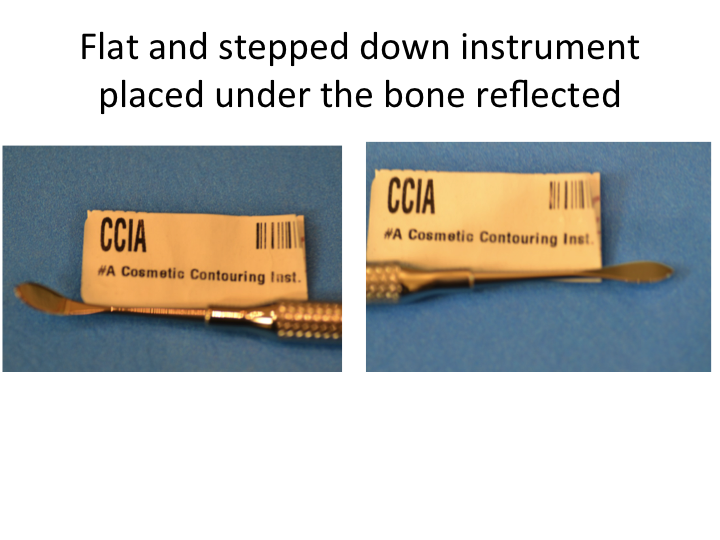
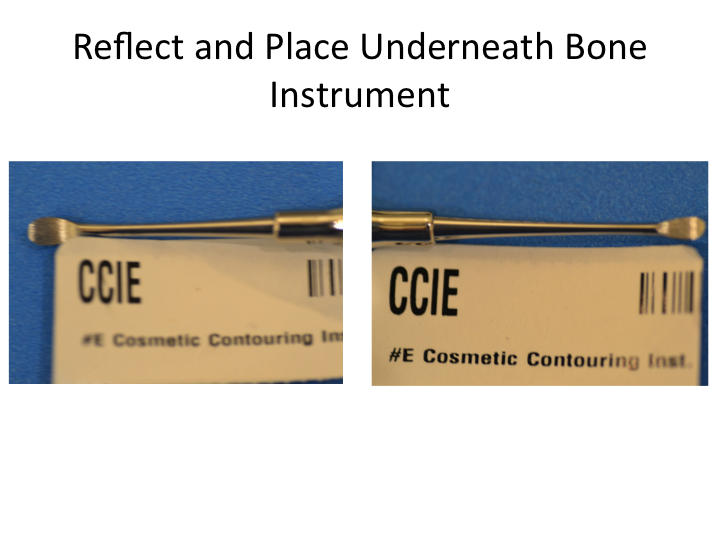
8) Place flat or stepped down instrument just under the bone and drill down just above bone with high speed round bur #6, 8 or FG. #557.
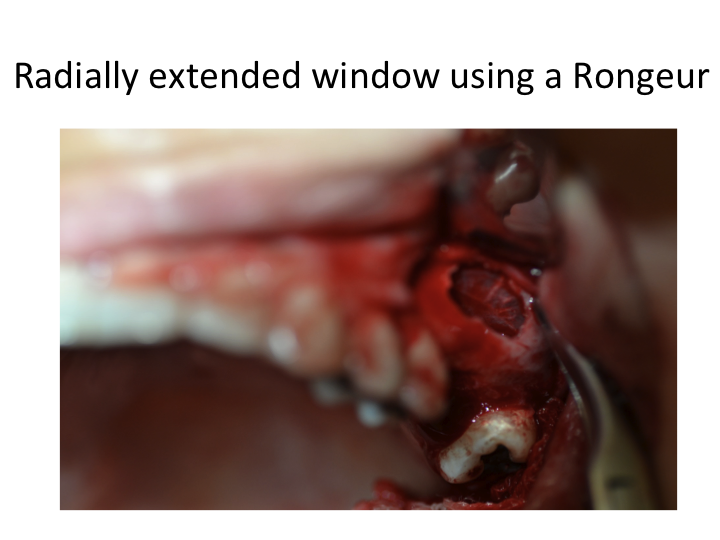
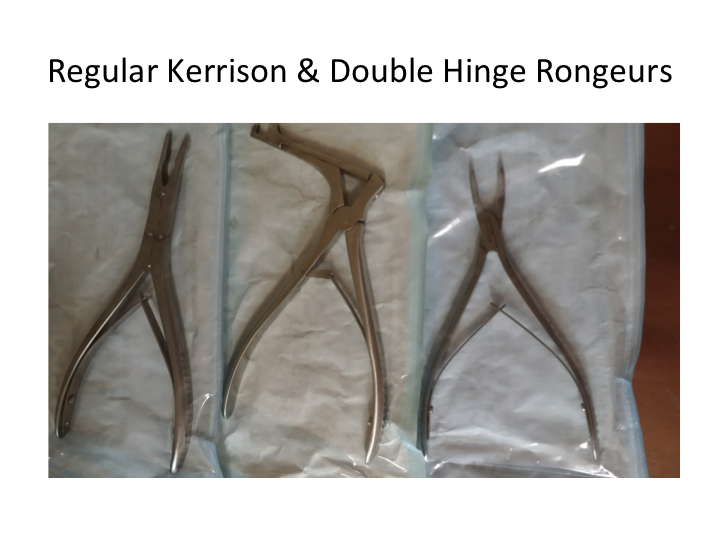
9) Sometimes using the kerrison or double hinge bone rongeur chips away the bone fully separated from the membrane.
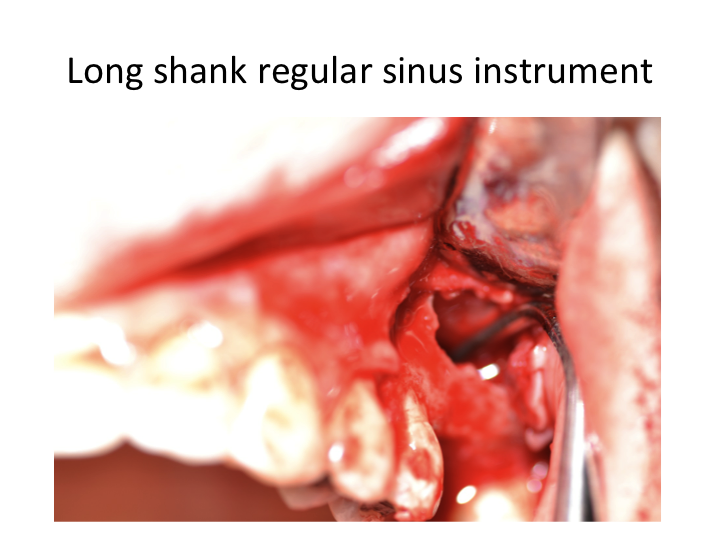
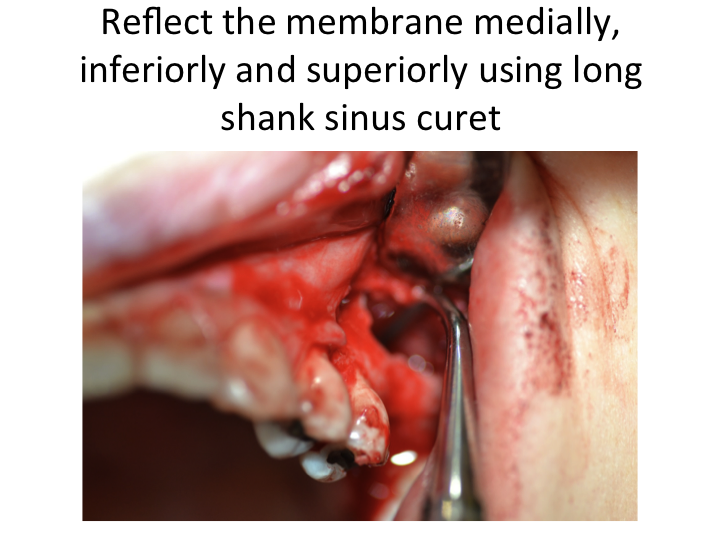
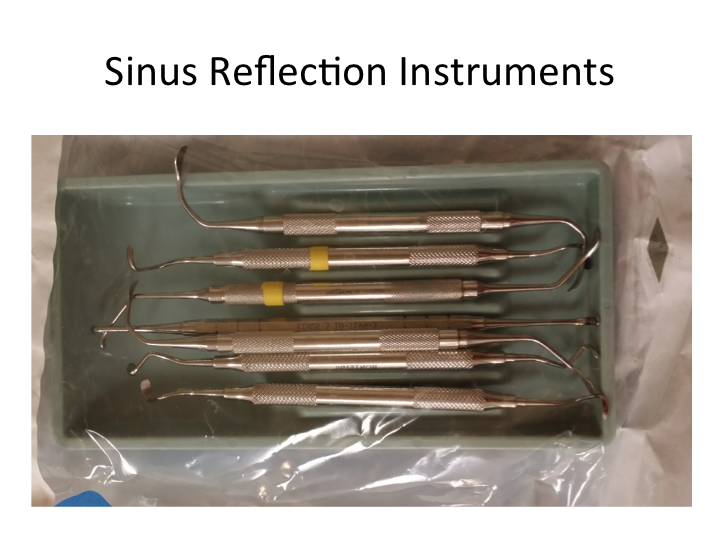
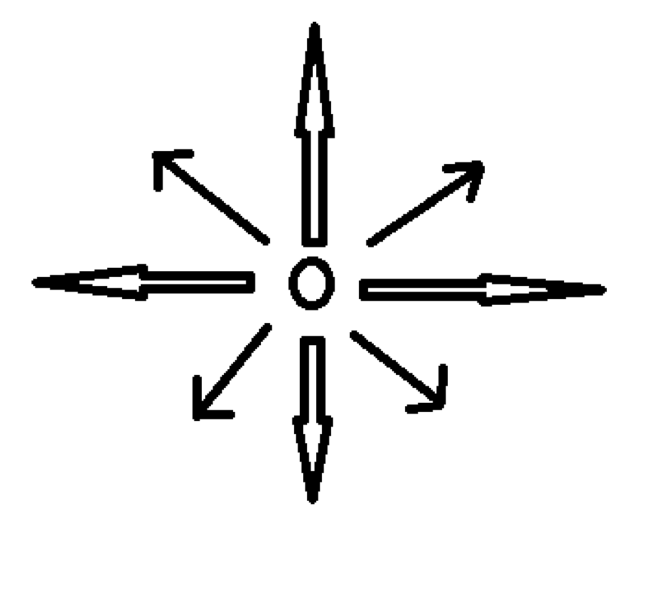
10) After that, use regular sinus reflection instruments with long shank to elevate the Sneiderian membrane superiorly, medially, laterally and inferiorly.
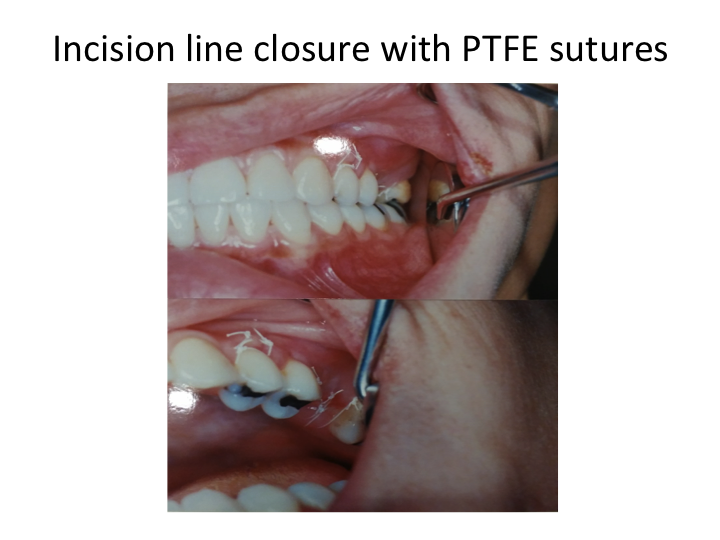
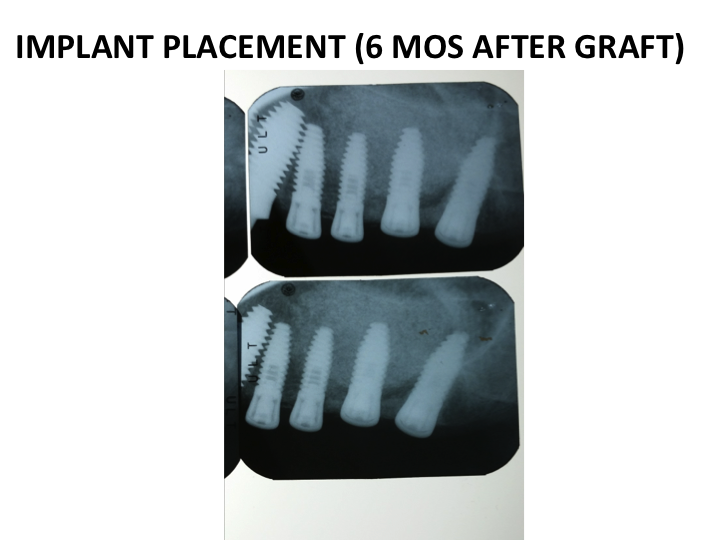
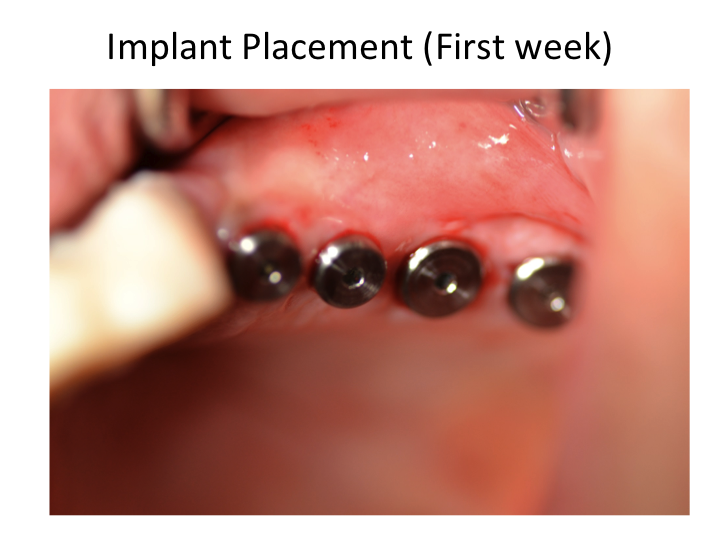
11) After sufficient reflection of Sneiderian membrane, place the collagen membrane just beneath the Sneiderian membrane and start to pack the graft materials superiorly, medially, laterally and inferiorly at the sufficient height.